Attempting to make this website
I explore how awful trying to render a single Rain World room is and cry about the canvas element.
Why scug?
To first explore why I even decided to do what I did I need to explain the theming and domain of this website.
It all started when I decided I needed a domain for my services which wasn’t an old domain I had lying around. So… What to pick? My friends all have .systems domains, so obviously I wanted one as well. For the actual name to pick it was a rather interesting choice. For context, my friends domains are:
- netcat.systems
- slugcat.systems
- pikachu.systems
And I am a huge fan of Rain World. So after taking a quick look on the creatures page on the wiki I decided on iterator.systems.
And the theming?
Iterators in Rain World are giant supercomputers, because of spoilers I don’t want to get that much deeper into it, but they are pretty cool. In them, specifically in 5 Pebbles, there is an area called “General Systems Bus”. This area’s backdrop is filled with a projector of sorts. This was exactly what I wanted my site to look like.
Spoilers for the region 5 Pebbles
To recreate this effect I initally thought of doing it in pure CSS, but quickly gave up on that idea in favor of using a canvas element. So… My journey began.
Thank you dotnet 10
For re-creating the projector effect, I needed some glyphs to project. I first attempted to look into how the game itself achieves this effect, but me being an idiot revealed that I had no idea what I was doing. So, I decided to just take the UI elements from the game and map them onto a noise map. The UI elements I got from an old ZIP file on Google Drive that contained all sprites, even if they were quite old. The sprites I ended up choosing were the Karma symbols along with some miscellaneous elements.
So, now I have the assets, what now? Well, let’s start by making a simple perlin noise generator in C#. Specifically, for this I am using the new dotnet run app.cs feature introduced in .NET 10.
Oh and by “making” I mean taking the first result from Google. Output that into an png using image sharp
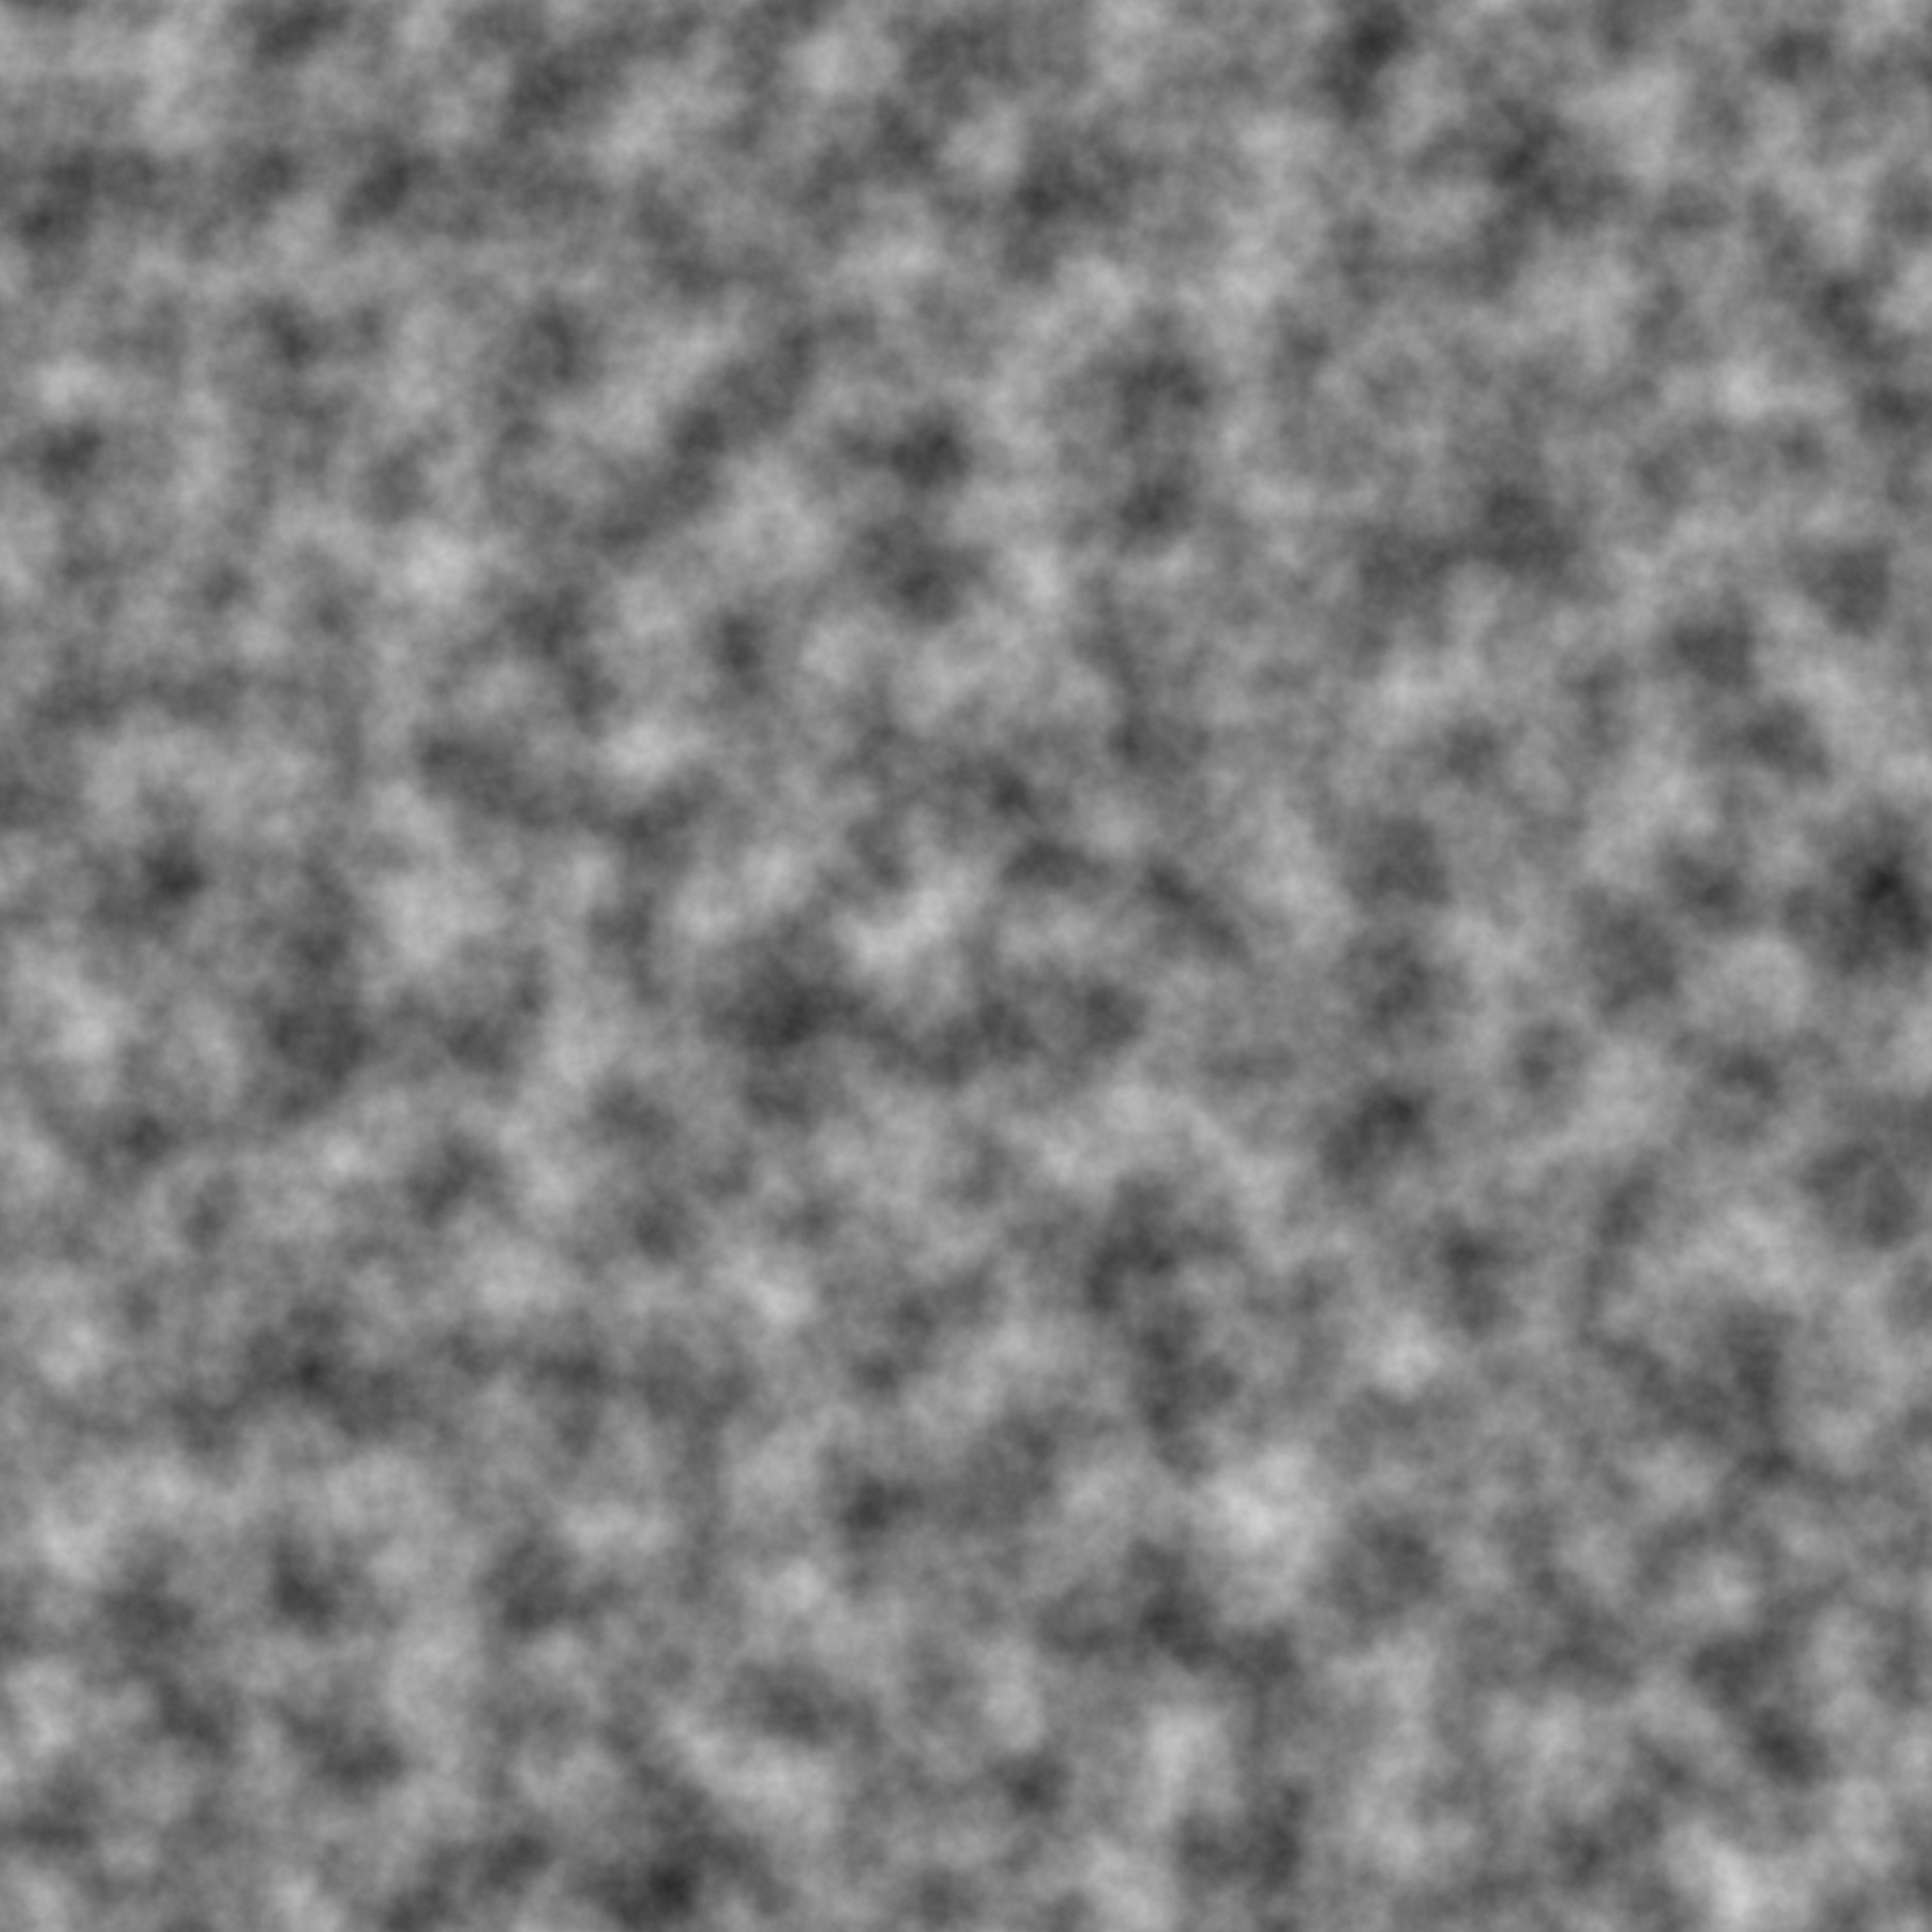
Perlin noise, woaw
From there it’s a simple game of mapping these sprites onto a grid based on the noise values.
const int Width = 2000;
const int Height = 2000;
const int Seed = 12345;
const int SpriteSize = 16;
const double EmptyThreshold = 0.55; // below this noise value, leave empty
If the noise value for a tile is above the empty threshold, we map a sprite to that tile. This is done by selecting a sprite from our list of loaded sprites and drawing it onto the output image at the corresponding tile position. The sprite is scaled down to fit the tile size. It’s also random which sprite we choose to use for each tile, adding to the overall variability of the generated image.
The resulting image is then saved to a file ready to use! Sprites mapped onto noise, looking better!![]()
This certainly isn’t the best result I could have achieved, but it’s a solid start and I think right now it works well enough.
Why is everything red (rendering my backdrop)
With my current setup, everything would be on a black background. I first thought that I could just take an already existing render of General System Bus - Oh how foolish of me. The renders found on the interwebs all include the projector effect, which I obviously do not want for my backdrop as it would defeat the purpose of recreating the effect myself (and probably look rather odd). This means I need to create my own backdrop from scratch.1
So, how does one make a Rain World room? Good question. First step was to open the modding wiki, pick the first recommended level editor (In this case, Rained), go to YouTube and find a tutorial, follow that. Sounds simple, right? Well it actually is! Rained is awesome to use. So, I made my room. This was a rather quick process, considering I didn’t have to do any gameplay. Rendering the room, everything turned out to be red. From what I know this is because of the way the game renders rooms, specifically the lighting is baked and the game does the rest.2 The resulting files I could simply drop within the levels directory of the game assets. This allowed me to load the level in sandbox mode no issue.
Now, I could do the rather boring option of taking a screenshot of every screen without any mods to the game. This in essence means there would be a slugcat shown on every screenshot. Not ideal. This got me thinking, how do the existing Rain World online maps render their rooms?
For this I looked at Rain World Downpour Map, but the mod this used was very old and didn’t have any binaries precompiled and I didn’t want to do that myself. The newest map Rain World Watcher Map did indeed have precompiled binaries, making it much easier to use.
The actual rendering is simple, or rather I hoped it was… See, the map exporter works per region not per room. This means that I couldn’t say “please just render this custom room I made”, no. I had to make a custom region and render that instead. The documentation on doing this is rather sparse and I ran into trouble where my room didn’t connect to other rooms properly. But then I realized I could just replace an existing room inside an existing region! And so I did that, and wouldn’t you know, my room rendered!

All of my screens rendered
But wait a minute… It’s all separate screens? Yep. And that means I have to combine them somehow. This sounds like an easy job, however, Rain World has parallax. This ensures that my screens will never line up correctly. Luckily, it’s not that bad, but still noticable, ugh. All said and done I now have a backdrop.
All of my screens combined into a single backdrop
Writing the code
I now have all the parts I need for making this work. So, a simple canvas element later I can start with a simple object class. For this I am using TypeScript so I can indulge in my OOP brainrot.
export abstract class BaseObject {
    /**
     * The x position of the object
     */
    x: number;
    /**
     * The y position of the object
     */
    y: number;
    /**
     * The x velocity of the object
     */
    velocityX: number;
    /**
     * The y velocity of the object
     */
    velocityY: number;

    velocityMode: "set" | "add" = "set";

    /**
     * The layer of the object, determines the draw order
     */
    layer: number;

    /**
     * Draws the object on the canvas
     */
    abstract draw(ts?: number): void;

    /**
     * Called before each frame is rendered, if you render anything here I will blow you up.
     */
    update(ts?: number): void {
        this.x += this.velocityX;
        this.y += this.velocityY;
    }

    applyVelocity(x: number, y: number): void {
        switch (this.velocityMode) {
            case "add":
                this.velocityX += x;
                this.velocityY += y;
                break;
            case "set":
                this.velocityX = x;
                this.velocityY = y;
                break;
        }
    }

    /**
     * Called when the canvas is resized
     */
    onResize(): void {

    }
}
Importantly, we have a separate method for updating the position and for actually drawing the object. The logic for overseeing all of this happens in our main.ts file.
A simple array of objects holds all of our drawable elements. And then a main draw method is responsible for iterating over this array and calling the draw method on each object.
function draw(ts?: number) {
    ctx.clearRect(0, 0, canvas.width, canvas.height);
    ts = ts || performance.now();

    objects.forEach(obj => obj.update(ts));
    objects.forEach(obj => obj.draw(ts));

    requestAnimationFrame(draw);
}
The draw function is simply called once on startup3, from there it calls itself via requestAnimationFrame.
Now, let’s continue my brainrot with the background.
export class BackgroundImage extends BaseObject {
    layer = 0; // Draws first, always.

    bgZoom = 1.2;
    private zoomedWidth: number;
    private zoomedHeight: number;
    private offsetX: number;
    private offsetY: number;

    draw(): void {
        ctx?.drawImage(bgImage, this.offsetX, this.offsetY, this.zoomedWidth, this.zoomedHeight);
    }

    onResize(): void {
        this.zoomedWidth = canvas.width * this.bgZoom;
        this.zoomedHeight = canvas.height * this.bgZoom;
        this.offsetX = -(this.zoomedWidth - canvas.width) / 2;
        this.offsetY = -(this.zoomedHeight - canvas.height) / 2;
    }
}
Next up was the moving “projector” effect. For how I handle this, it’s pretty simple. The projector simply draws the image made earlier. I apply a random velocity every 60ms. If we happen to hit a wall, I just apply velocity in the other direction.
For the neuron flies that fly around, they are each an individual object. Everyone of them has a starting position and velocity, and they all move independently of each other. They use the same system for random velocity like the projector, with the added change of rotating the fly in the direction they are moving. Same with the projector, if a wall is hit, the fly will bounce off.
The lines follow a similar logic, though they are not rendered using images. Every horizontal line is two lines drawn from the left to the right. They are spaced apart by a random amount. Following that, each horizontal line also get’s two vertical lines, spaced apart by a marginally bigger amount.
for (let index = 0; index < settings.lines.count; index++) {
    addObject(new LineSet("vertical", 2), false);
    addObject(new LineSet("horizontal", 1), false);
}
The code here references a settings object, the settings object is a generic container for setting position bounds and counts for the various elements.
If you wanna play around with the settings a bit, you can go visit General Systems Bus
canvas why are you like this
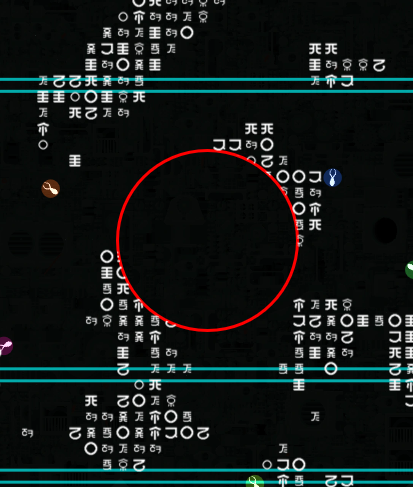
Ok, I wanted cool circles that interrupt the projector effect. So I made the InterruptionCircle class, which is a simple circle that gets drawn on the canvas (for now). But how do I make the projector image not draw to where the circle is? Well, let’s first start with a circle.
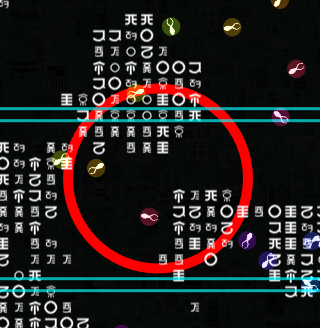
That’s a circle alright
A bit of context
In JavaScript, the canvas element has a globalCompositeOperation property that determines how new drawings will be composited with the existing canvas content. I tried the various options available, but I am an idiot and nothing was really working with the context of how I was layering my objects. I had one last idea with the globalCompositeOperation property, and that was rendering the hologram onto a second canvas and masking that out without having to worry about the other layers. And after some trial and error, I finally got it working.
It’s masking
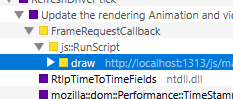
But… It’s running poorly… Very much so. We are getting around 40 FPS. Previously I got a clean 165 FPS. Investigating, it seems like my outputed javascript has the main draw method… Twice? A profiler confirms this: JavaScript was a mistake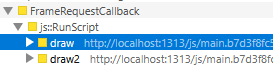
Banging my head against the wall I decided to combine the objects.ts file with the main.ts file. Maybe the fact that objects.ts imports the main.ts file is causing the bundling issue? And guess fucking what
I hate it here
So now at the expense of organized code, I have a single file that handles all the drawing logic. Not ideal, but running the drawing logic twice per frame is also not very ideal.
Ok but the FPS still sucks.
The solution for that was actually quite simple and I don’t know how I didn’t think of it sooner.
Instead of using destination-out which forces pixel manipulation, I switched to using a clipping region instead.
(It took me a solid hour of debugging and trying different approaches to figure this out)
// OLD:
hologramCtx.save();
hologramCtx.globalCompositeOperation = "destination-out";
hologramCtx.beginPath();
hologramCtx.arc(this.x, this.y, this.radius, 0, Math.PI * 2);
hologramCtx.fill();
hologramCtx.restore();
// NEW:
hologramCtx.save();
hologramCtx.beginPath();
hologramCtx.arc(this.x, this.y, this.radius, 0, Math.PI * 2);
hologramCtx.clip();
// Only clear the clipped region
hologramCtx.clearRect(this.x - this.radius, this.y - this.radius, this.radius * 2, this.radius * 2);
hologramCtx.restore();
And… 165 FPS! Peak. Now some respawning logic later and we have circles that appear and disappear.
And, for closing, a circle that follows the mouse. For that I just copy + pasted the circle logic with animations that interpolate the radius and border width.
All of this has taught me that JavaScript was a mistake, and the canvas API will follow me in my nightmares.
Closing Thoughts
I planned this whole website to be a 1 day, maybe 2 day kind of thing. But as these things pan out, it turned into a much larger project. The result is something that, while not perfect, I think works quite nicely as a gimmick to have. Some things I wanted to do but didn’t because of time:
- Prevent mouse cursor and interrupt circles from drawing in other circles. They should merge together instead.
- Depth to the entire scene. In Rain World, the projector has depth depending on what layer it hits. I don’t do this and it results in a rather flat image. I am still unsure wether I should have a black background instead. Who knows…
- Performance optimizations. There are definitely areas where I could improve the performance, especially with the way objects are drawn and updated along with caching more values.
- More interactivity. I would love to add more interactive elements to the scene, such as clickable objects or dynamic backgrounds.
- Improve visuals of the Neuron Flies. Right now the glow is applied in a circle around the object, leaving the fly itself unlit.
All in all, I would say this was a successful experiment, maybe not the best use of my time, but a valuable learning experience nonetheless.
In hindsight, I could have just turned off the projector effect in the existing General Systems Bus room and render that instead, whoops. ↩︎
Don’t trust my word on this, I have no idea how it works. ↩︎
There is actually some other logic involved in determining when to call the draw function (notably a isReady flag that is set once all assets are loaded), but that’s the gist of it. ↩︎